
Views: 0 Author: Site Editor Publish Time: 2026-07-23 Origin: Site


Transforming a cosmetic brand's initial design concept into high-yield mass production requires a crucial, highly engineered bridge. You cannot simply sketch a beautiful bottle and expect automated machines to replicate it flawlessly. A premium look, maximum material efficiency, and seamless production scalability all hinge entirely on the engineering of your primary tooling.
The manufacturing process serves as far more than a mere technicality. It serves as the foundation of your business model. It directly dictates your unit economics, controls your product lead times, and shapes how consumers ultimately perceive your brand on the retail shelf. Poor tooling decisions lead to delayed launches, expensive scrap rates, and compromised aesthetics. Conversely, exceptional tooling guarantees reliable output and stunning visual appeal. In this guide, you will learn exactly how tooling decisions impact your return on investment. We will explore the primary molding processes required for different container types. You will also discover how to evaluate manufacturing partners and prevent expensive defects before anyone cuts a single block of steel.
The choice of a cosmetic packaging mold determines both your upfront Capital Expenditure (CapEx) and long-term per-unit cost.
Different bottle designs (e.g., rigid PET vs. squeezable HDPE) require entirely distinct molding technologies (ISBM vs. EBM).
Evaluating a manufacturing partner requires looking beyond mold price to include cycle times, steel grade, and defect validation protocols.
Design for Manufacturability (DFM) must precede mold cutting to prevent wall thinning, flash, and parting-line mismatches.
You face an immediate inverse relationship between upfront tooling investment and long-term piece price. Investing in a low-cost, single-cavity prototype tool requires minimal upfront capital. However, this approach severely limits daily output, keeping your per-unit cost artificially high. Conversely, funding a 32-cavity high-production tool demands significant capital expenditure. This strategy ultimately delivers a fraction-of-a-cent per-unit cost, allowing you to maximize margins over high-volume runs. Your sales projections must dictate this cavitation strategy.
Visible parting lines, prominent gate marks, or poor resin clarity directly damage consumer perception. Luxury cosmetic buyers expect flawless tactile and visual experiences. They quickly associate sharp plastic edges or cloudy bottles with cheap formulations. Investing in a highly engineered Cosmetic Packaging Mold ensures pristine surface finishes. High-quality polishing and tight machining tolerances eliminate the visible seams separating your product from true luxury status.
Tooling also controls your time-to-market. Designing, cutting, and sampling custom steel typically takes between 4 and 12 weeks. This timeline makes tooling the primary bottleneck in any product launch. Delays in the machining phase automatically push back your filling, packing, and distribution schedules.
Finally, sub-standard tooling creates severe scalability constraints. When consumer demand suddenly spikes, cheap aluminum or unhardened steel tools often fail under continuous machine pressure. This failure causes unexpected machine downtime, massive scrap runs, and an inability to fulfill major retail purchase orders.
Selecting the correct manufacturing process depends entirely on your desired material, bottle shape, and functional requirements. Industry standards primarily rely on three distinct methodologies.
This process represents the gold standard for premium, glass-like rigid bottles, particularly those utilizing Polyethylene Terephthalate (PET). ISBM operates via a highly controlled two-stage process. First, the machine injects molten plastic to form a "preform," which looks like a small test tube featuring fully formed neck threads. Second, a machine heats this preform, stretches it mechanically with a core rod, and blows high-pressure air to force the plastic against the cavity walls.
ISBM delivers superior clarity and incredible strength. More importantly, it creates highly precise neck finishes. Precision here remains crucial for integrating leak-proof lotion pumps, fine-mist sprayers, and specialized droppers.
When you need squeezable lotions, shampoo bottles, or opaque soft-touch containers, Extrusion Blow Molding provides the ideal solution. Manufacturers typically use High-Density Polyethylene (HDPE), Low-Density Polyethylene (LDPE), or Polypropylene (PP) for this process.
Instead of creating a preform, the machine continuously extrudes a hollow tube of hot plastic called a parison. The two halves of the mold clamp shut around this hanging tube, pinching the bottom. Air then inflates the parison to match the cavity shape. EBM allows for highly customizable, asymmetrical shapes and typically involves lower upfront tooling costs. However, it always leaves a visible parting line across the base where the metal pinched the plastic shut.
Injection molding does not involve inflating air. Instead, machines inject molten plastic directly into a closed, highly pressurized cavity. This process excels at producing thick-walled acrylic cosmetic jars, heavy closures, and intricate internal pump components.
Creating a premium, thick-walled acrylic jar requires a specialized Cosmetic Packaging Mold built to withstand extreme injection pressures without warping or shifting. This ensures perfectly uniform wall thickness and optical clarity.
Primary Process Comparison Overview
Process Type | Ideal Materials | Best Suited For | Key Visual Characteristic |
|---|---|---|---|
ISBM | PET, PETG | Premium rigid bottles, serums, fragrances | Glass-like clarity, no base pinch line |
EBM | HDPE, LDPE, PP | Squeezable tubes, shampoos, opaque lotions | Visible pinch line on the base, soft touch |
IM | Acrylic, PP, ABS | Thick-walled jars, caps, threaded closures | Heavy weight, precise internal geometries |
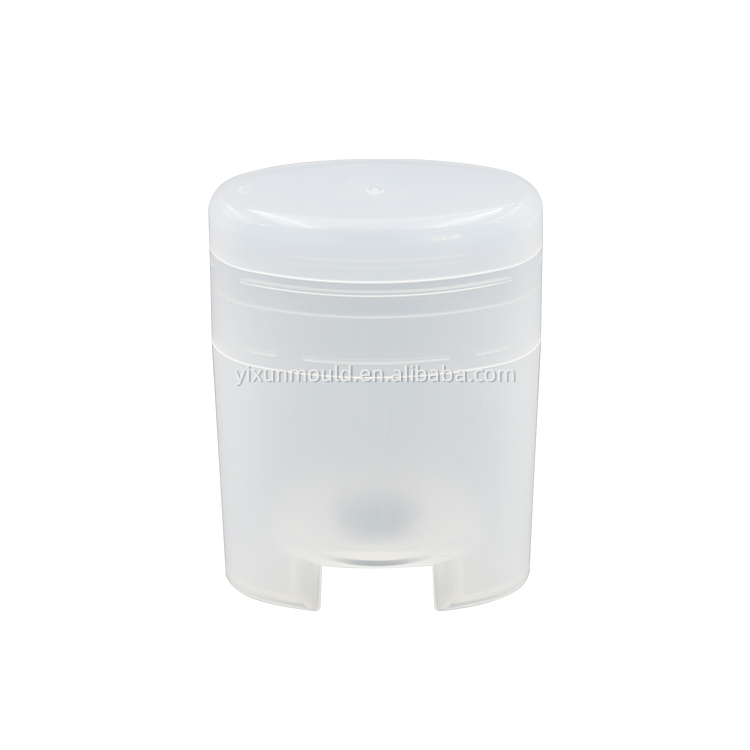
You must evaluate potential tooling partners using strict engineering criteria rather than just looking at the bottom-line quote. A cheap tool often hides inferior steel and inadequate cooling systems.
First, analyze the tooling material and its projected lifespan. Soft aluminum or P20 steel works well for short runs of roughly 100,000 cycles. However, if you project high-volume global sales, you must demand hardened steel. Utilizing S136 or H13 hardened steel ensures the tool can survive millions of cycles without dimensional degradation. For example, producing an LDPE snap-cap requires a precision-engineered Cosmetic Packaging Mold built from hardened steel to guarantee the snap mechanism functions perfectly on the millionth shot.
Next, define your cavitation strategy based on your Estimated Annual Usage (EAU). If you need 5 million units annually, a 2-cavity tool will run constantly and still fail to meet demand. You must calculate the cycle time against available machine tonnage to determine if you need a 16-cavity or 32-cavity setup.
Material compatibility and shrinkage rates also require careful attention. Different plastics cool and shrink at entirely different rates. Post-Consumer Recycled (PCR) resin behaves differently than virgin PETG. Engineers must calculate these exact shrink rates and cut the steel slightly oversized to compensate. If they miscalculate, your caps will not thread onto your bottles.
Finally, verify compliance and cleanliness standards. Premium skincare and eye-care formulations demand sterile environments. Ensure your partner uses medical or food-grade lubricants on the ejector pins. Verify they operate machines within ISO 8 or ISO 9 certified cleanrooms to prevent airborne particulate contamination.
Rushing the engineering phase guarantees production defects. You must force your manufacturing partner to mitigate risks before cutting steel.
Demand a comprehensive Mold Flow Analysis (MFA). This computer simulation visualizes exactly how molten plastic will travel through the cavity. MFA predicts disastrous issues like weld lines, air traps, and cooling imbalances. Seeing these issues on a screen allows engineers to move gate locations or adjust wall thickness before machining begins.
In blow molding, inconsistent wall distribution stands out as a massive risk. If the parison stretches unevenly, the bottle develops dangerously thin spots in the corners. These thin walls lead to "paneling" where the bottle sucks inward after filling, or worse, structural failure and leaking during transit.
You must also guard against parting line mismatches and flash. When manufacturers use cheap CNC machines, the two halves of the tool do not align perfectly. This misalignment allows molten plastic to leak through the microscopic gap, creating sharp edges known as "flash." Removing flash requires expensive manual trimming, which destroys your profit margins and leaves ugly scars on the packaging.
Lastly, scrutinize the cooling system layout. Plastic takes time to solidify. If engineers design inefficient water channels inside the steel block, the plastic takes longer to cool. This increases cycle times. Adding just three seconds to a cycle time drastically drives up your long-term per-unit cost. For complex mechanisms, like an unscrewing threaded closure, your Cosmetic Packaging Mold must feature highly advanced, conformal cooling channels to eject the threaded cap quickly and cleanly.
Selecting the right vendor protects your capital and your brand reputation. Use a rigorous shortlisting logic to secure a trustworthy manufacturing partner.
Audit the DFM Process: Do not trust a vendor who accepts your 3D CAD files without asking questions. A reliable partner will initiate a Design for Manufacturability (DFM) review immediately. They will challenge your design, requesting modifications to draft angles, undercuts, and wall thicknesses to ensure reliable production.
Clarify Ownership & IP: Always negotiate mold ownership upfront. Your contract must explicitly state you own the physical tool once you pay the invoice in full. This intellectual property clause provides portability. If the vendor suddenly raises prices or suffers quality drops, you can legally move your tool to a competing facility.
Define Trial & Validation (T0, T1, T2): Establish a strict timeline for sampling stages. The T0 stage represents the first shots off the tool. Use T0 solely to evaluate mechanical function and basic filling. Move to T1 and T2 stages to dial in the cosmetic finishes, perfect the color matching, and optimize the cycle times.
Demand Maintenance Guarantees: Steel requires continuous upkeep. Look for partners who explicitly include routine tool maintenance, ultrasonic cleaning, and minor repairs inside their part-price agreements. This prevents sudden invoices for "tooling refurbishment" after 50,000 cycles.
Producing high-quality cosmetic plastic bottles remains an exercise in aggressive upfront risk mitigation. The visual appeal, mechanical reliability, and profitability of your packaging depend entirely on the engineering behind your primary tooling. Choosing the cheapest quotation often creates a false sense of economy, inevitably leading to high scrap rates, leaking bottles, and severely delayed product launches.
Protect your brand by prioritizing high-grade hardened steel, demanding comprehensive Mold Flow Analysis, and verifying exact shrinkage tolerances. Before you finalize your container designs or issue a purchase order, request a formal Design for Manufacturability (DFM) review. Engaging an experienced packaging engineer early in the process will save you substantial capital and ensure your product commands attention on the retail shelf.
A: Costs vary wildly based on complexity, cavitation, and steel grade. A simple, single-cavity extrusion blow mold for a basic bottle might cost around $3,000. Conversely, a highly complex, 32-cavity injection tool utilizing hardened steel and hot runners for premium closures can easily exceed $30,000. Your Estimated Annual Usage (EAU) ultimately dictates the necessary investment level.
A: The standard reality for manufacturing requires patience. Simple standard blow molds typically take 4 to 8 weeks to design, cut, and sample. However, complex, multi-cavity injection tools requiring hardened steel and intricate cooling channels usually require 8 to 12 weeks before you see the first T0 samples.
A: Yes, you can use PCR, but you must proceed with caution. High percentages of PCR behave very differently than virgin resin during the melting and cooling phases. Using PCR often requires engineering adjustments to temperature controls, gate sizing, and shrink tolerances to prevent severe cosmetic defects like black specks or cloudiness.
A: This represents a critical failure in "neck finish" tolerances. If the threads or snap-beads do not align perfectly, the package will leak. You must demand physical testing using actual pump samples during the T1 sampling phase. Engineers can adjust the steel slightly during T1 to ensure a flawless, water-tight fitment.


